Introduction
#
In this article, we will learn to set expiration date for the domain in Plesk Control Panel. Windows Hosting comes with Windows Dedicated Server, Windows Reseller Hosting and Windows Small Business Hosting has Plesk Control Panel. They are many features comes with Plesk Control Panel to configure your domain name with E-mail, DNS, Databases and FTP.
Prerequisites
#
1. You will require Login details for the Plesk Control Panel.
Important Notes
#
1. You should have a domain in Plesk Control Panel.
Watch the Video
#
Procedure
#
1. Log in to your Plesk reseller account.[https://yourdomain.com:8443 or https://server-hostname:8443]
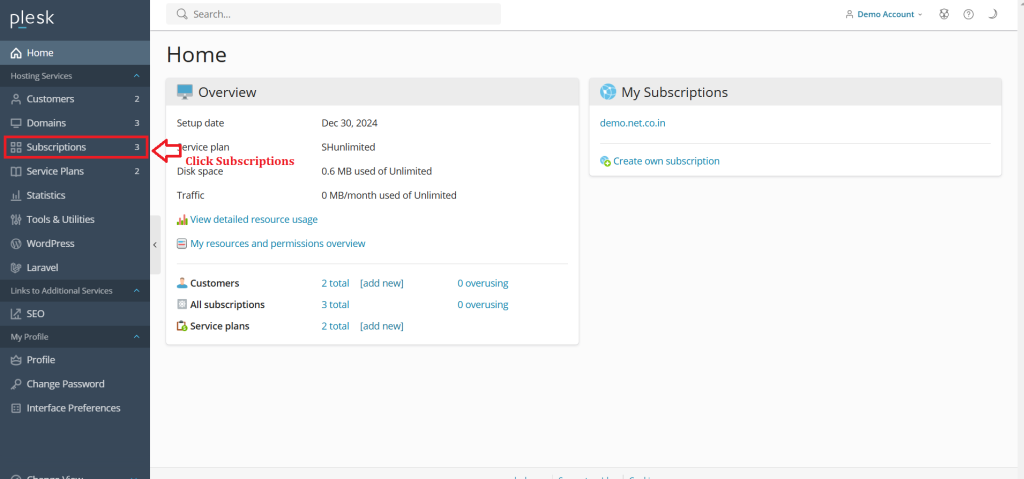
2. Click on ‘Subscription’
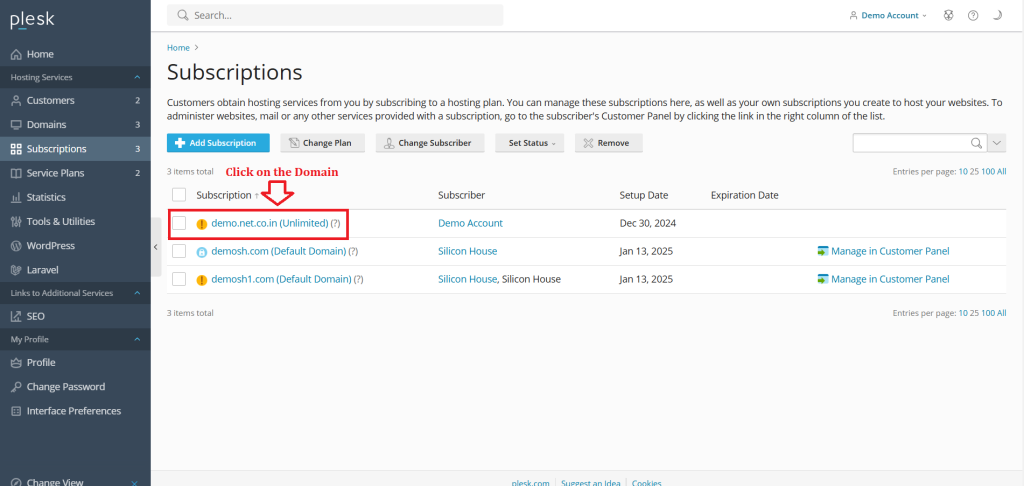
3. Select the particular subscription.
4. Click the Icon.
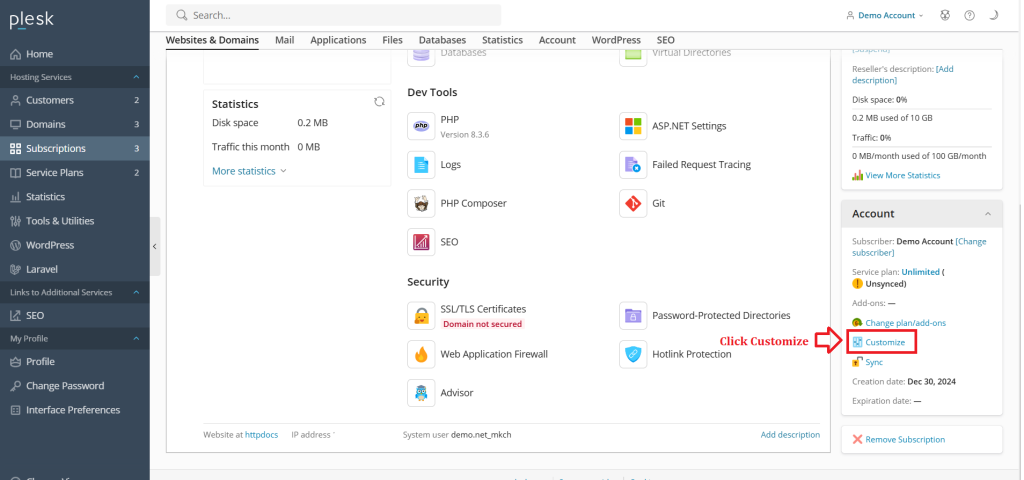
5. Click “Customize” option under Account in the right side of window.
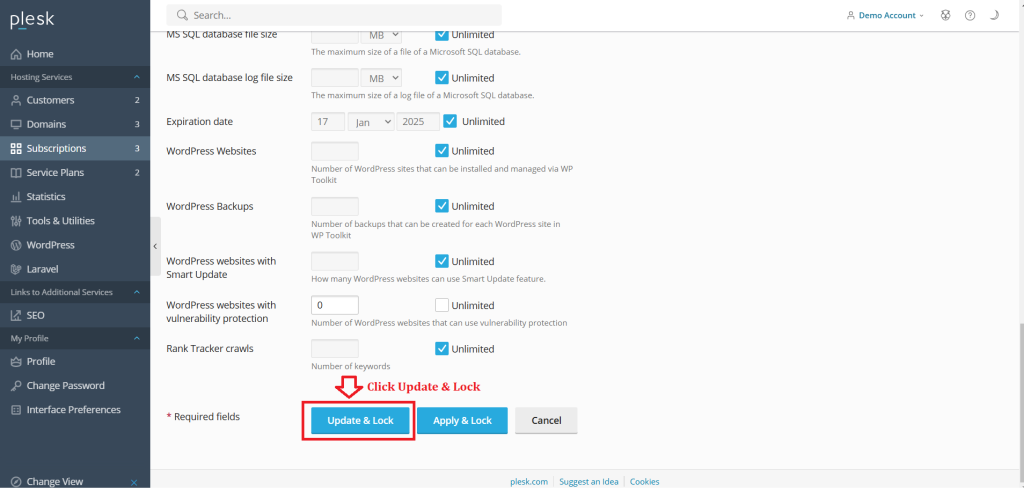
6. Set a Expiration date for the domain.

7. Click OK.
Conclusion
#
We have successfully learnt to set expiration date for the domain in Plesk Control Panel. They are many features comes with Plesk Control Panel to configure your domain name with E-mail, DNS, Databases and FTP. For more details about best Windows Reseller Hosting in India click here.


