Introduction #
Windows Hosting comes with Windows Dedicated Server, Windows Reseller Hosting and Windows Small Business Hosting has Plesk Control Panel. In this article, we will learn to enable/install SSL for a domain in Plesk Control Panel. They are many features comes with Plesk Control Panel to configure your domain name with E-mail, DNS, Databases and FTP.
Prerequisites
#
1. You will require Login details for the Plesk Control Panel.
Important Notes
#
1. You should have a domain in Plesk Control Panel.
Watch the Video
#
Procedure
#
1. Log in to your Plesk reseller account.[https://yourdomain.com:8443 or https://server-hostname:8443]
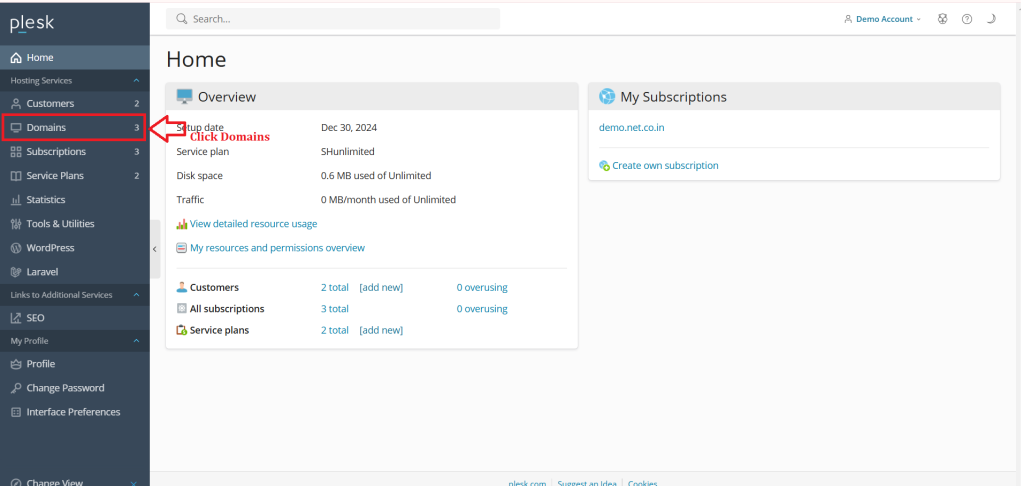
2. Click Domains.
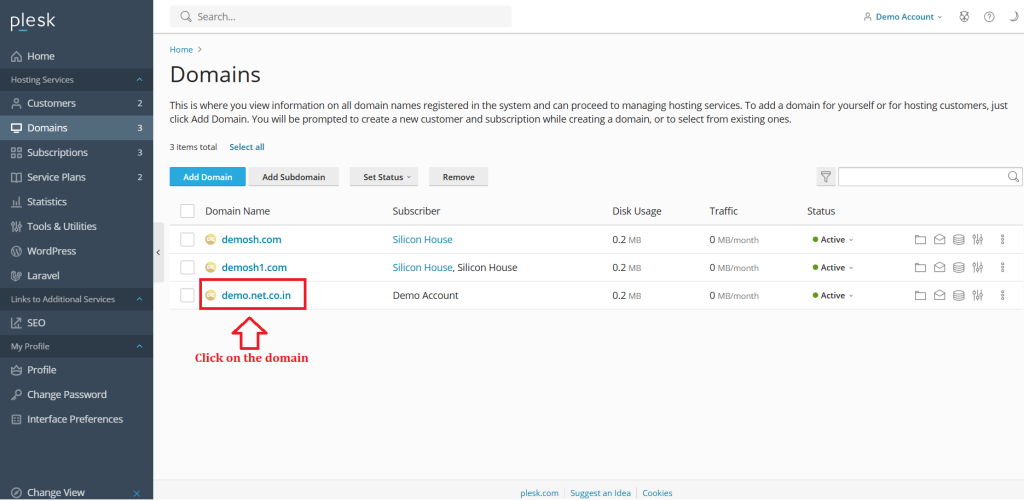
3. Select the particular domain.
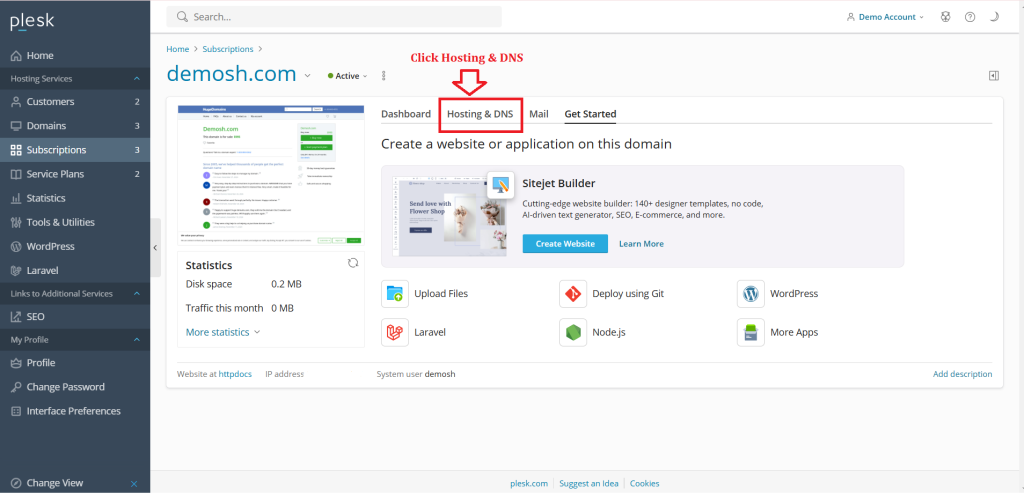
4. Go to Hosting & DNS.
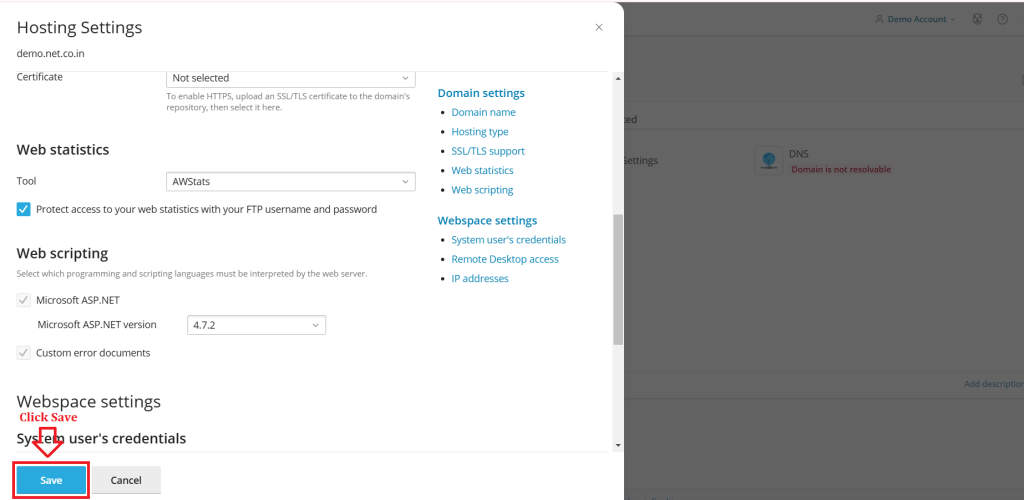
5. Click on “Hosting”.
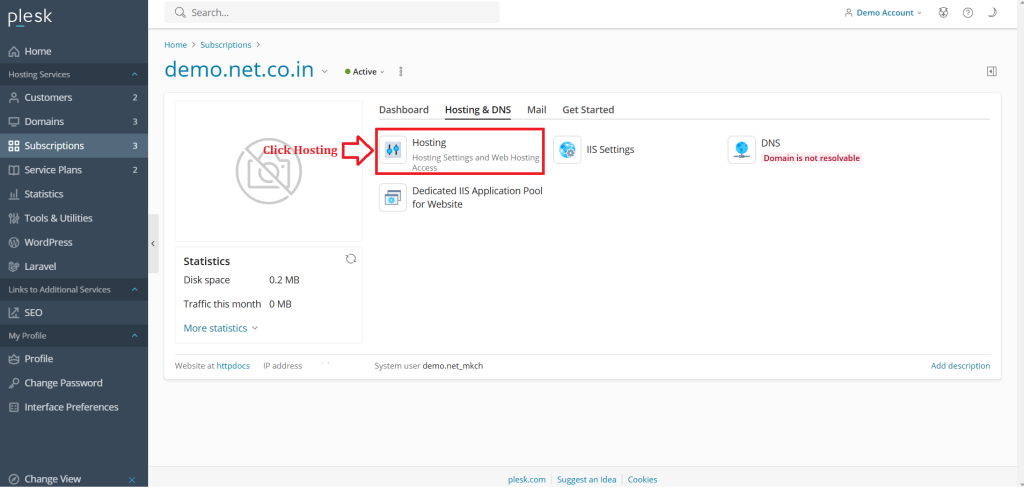
6. Enable the option SSL/TLS support if it is disabled and click Save.
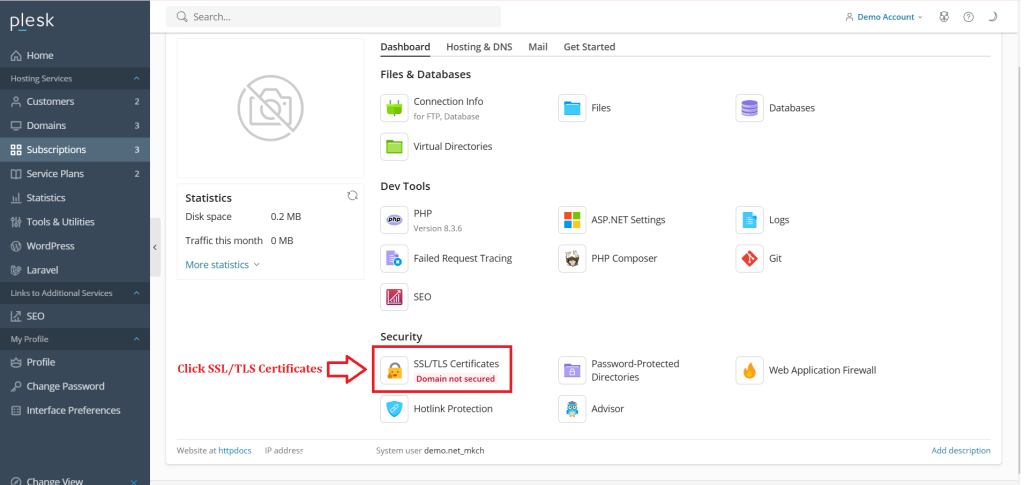
7. Under Dashboard of the domain click on SSL/TLS Certificates.
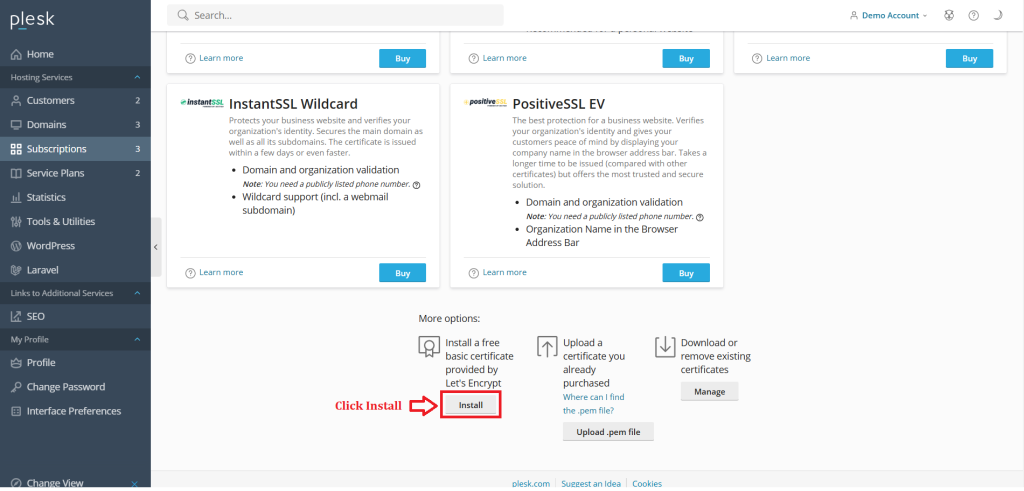
8. At the bottom of the page, click Install under “Install a free basic certificate provided by Let’s Encrypt”.
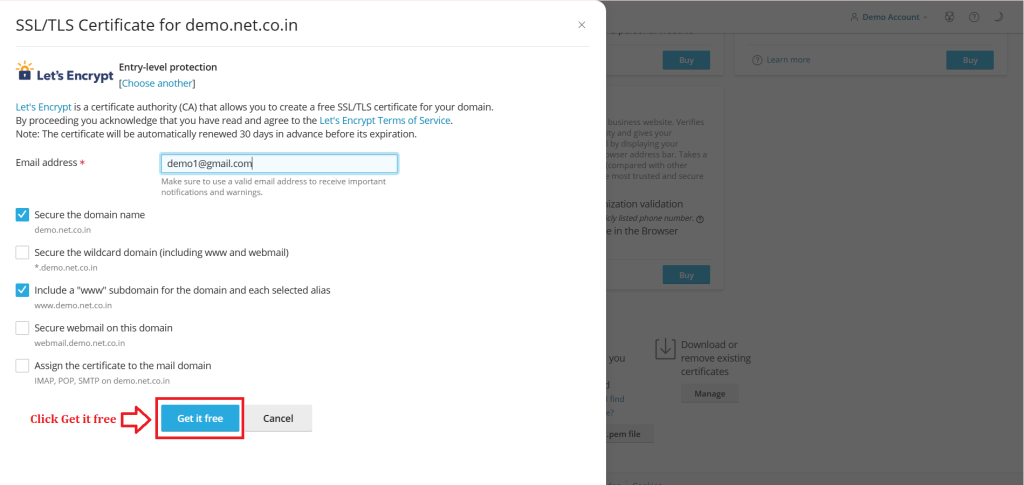
9. Select the desired options for the certificate to be issued. We recommend enabling the following options:
Secure the domain name.
Include a “www” subdomain for the domain and each selected alias.

10. Click Get it free.
Conclusion
#
We have successfully learnt to enable/install SSL for a domain in Plesk Control Panel. They are many features comes with Plesk Control Panel to configure your domain name with E-mail, DNS, Databases and FTP. For more details about best Windows Small Business Hosting in India click here.


