Introduction #
Windows Hosting comes with Windows Reseller Hosting, Windows Small Business Hosting and Windows Dedicated Server with Plesk Control Panel. In this article, we will learn to Add a Customer in Plesk Control Panel. They are many features comes with Plesk Control Panel to configure your domain name with E-mail, DNS, Databases and FTP.
Prerequisites
#
1. You will require Login details for the Plesk Control Panel.
Important Notes
#
1. You should have a Reseller access to Add a Customer in Plesk Control Panel.
Watch the Video
#
Procedure
#
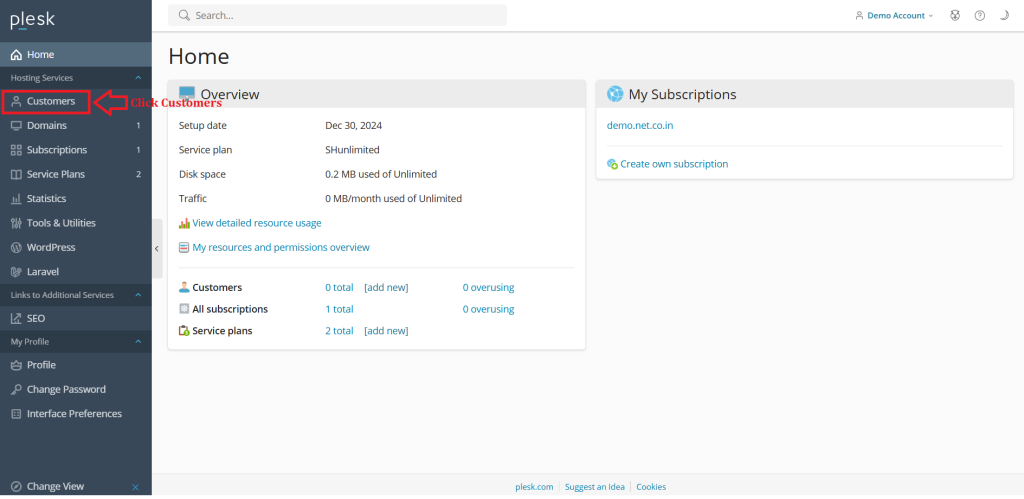
1. Log in to your Plesk reseller account.[https://yourdomain.com:8443 or https://server-hostname:8443].
2. Click on the “Customers” section.
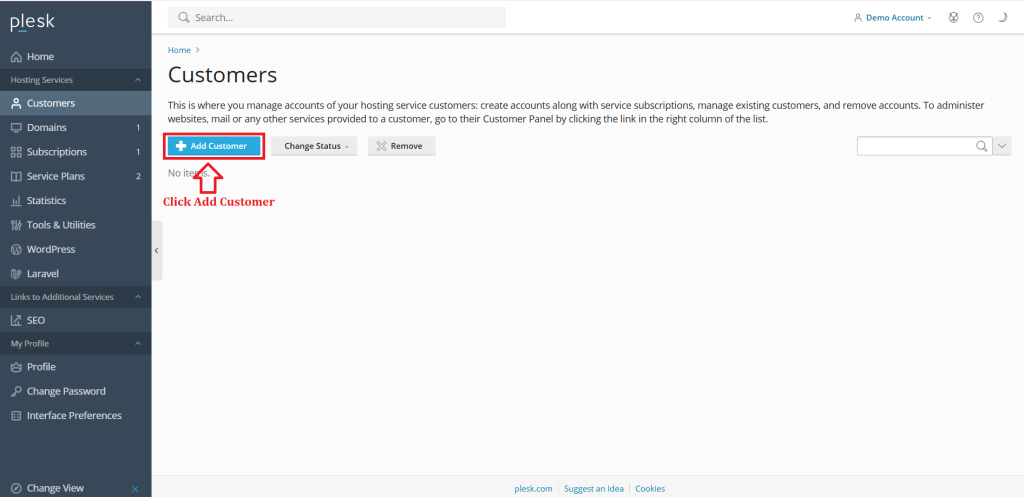
3. Select “Add a Customer.”
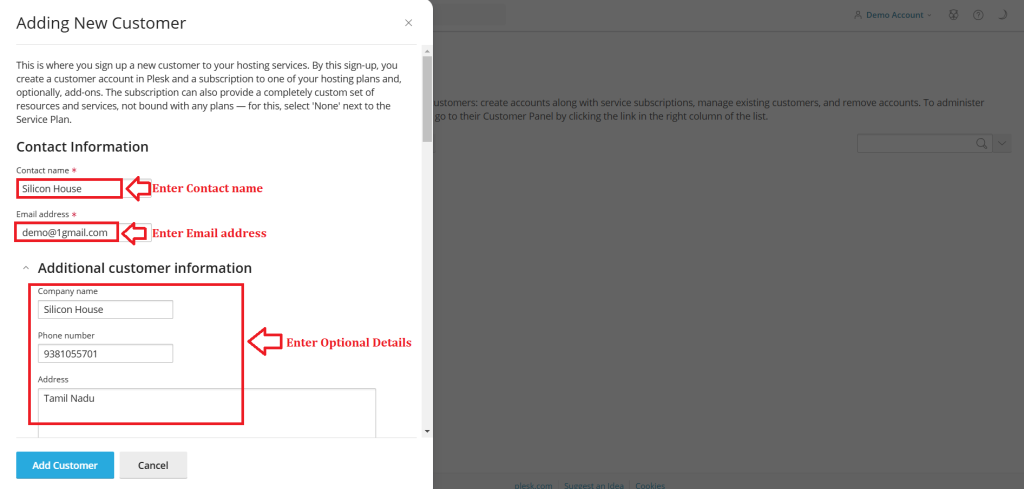
4. Enter Customer Details
Fill in the necessary details like contact information, including name, email address
optional details like company name, phone number, and address.
5. Specify a username and a strong password for the customer’s panel account.
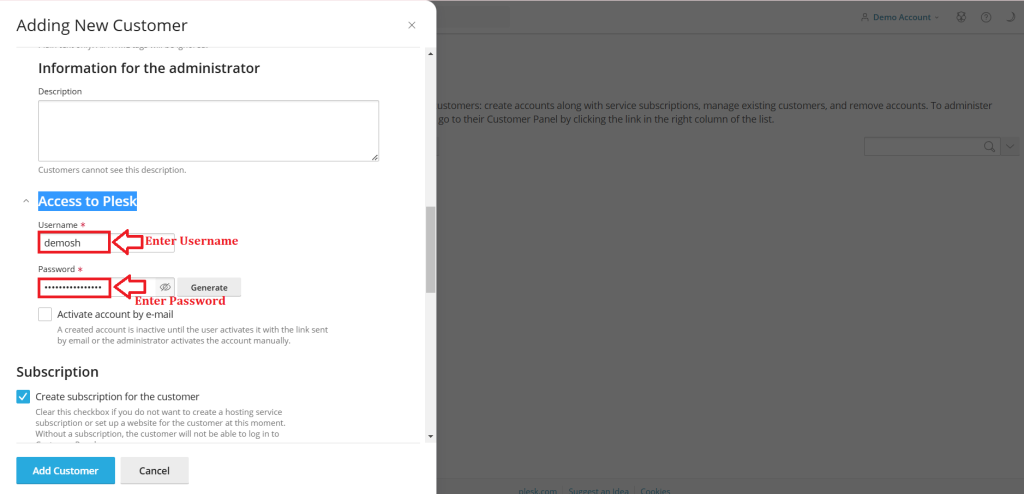
6. Click the checkbox “Activate Account” (Optional) if you want to activate the account via email. (Recommended : Disable)
![5. Option Untick [Disabled]](https://www.siliconhouse.net/support/wp-content/uploads/2025/01/5.-Option-Untick-Disabled-1024x499.png)
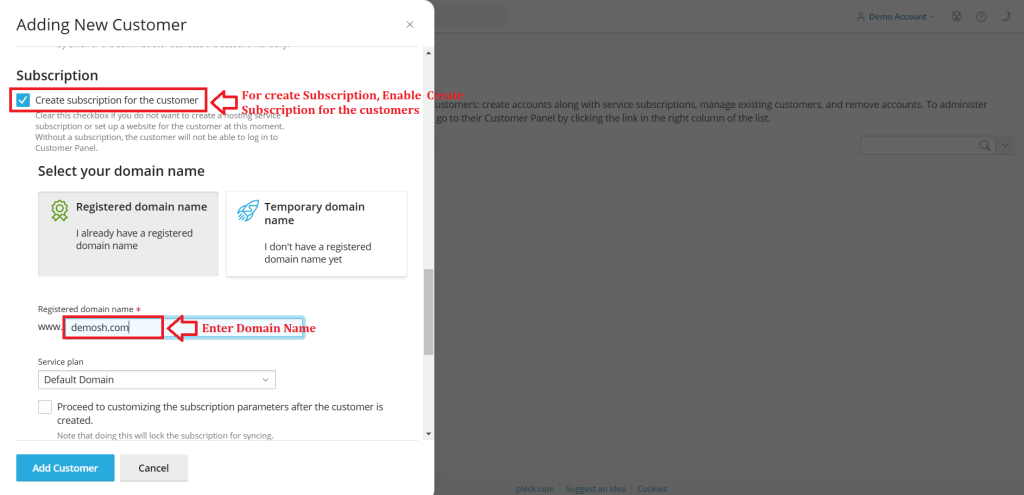
7. Create Subscription by choosing to create a subscription for the customer and select the registered domain name.
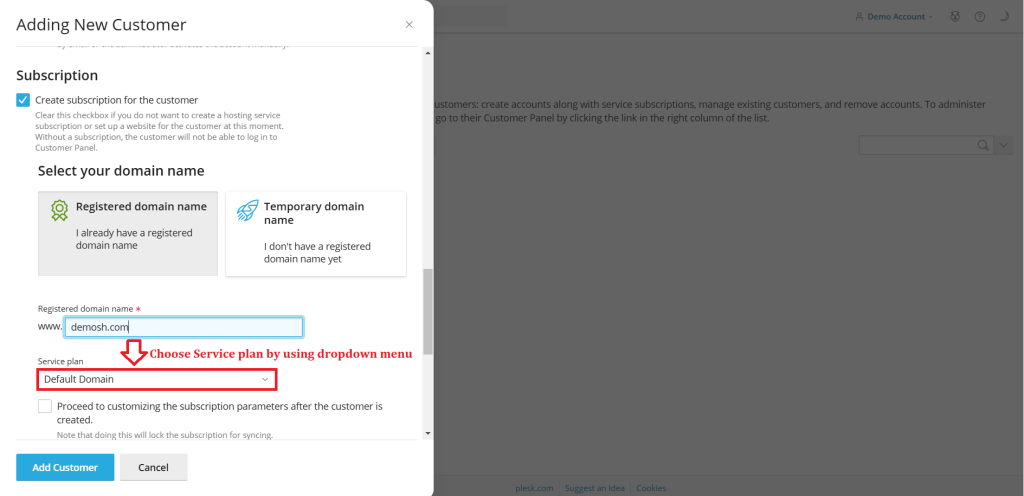
8. Choose Service Plan by selecting the appropriate service plan from the dropdown menu for the customer.
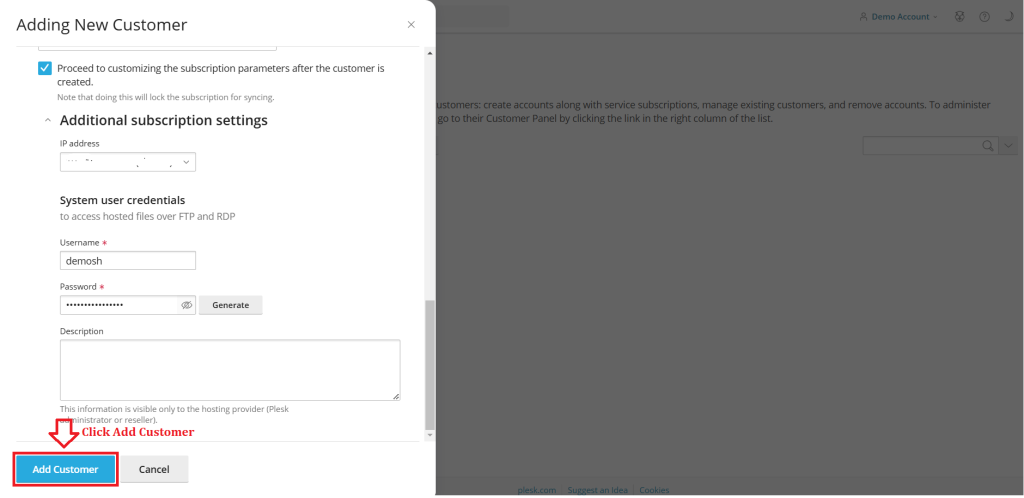
9. Click the checkbox under the service plan if you need to proceed customizing the subscription parameters after the customer is created.
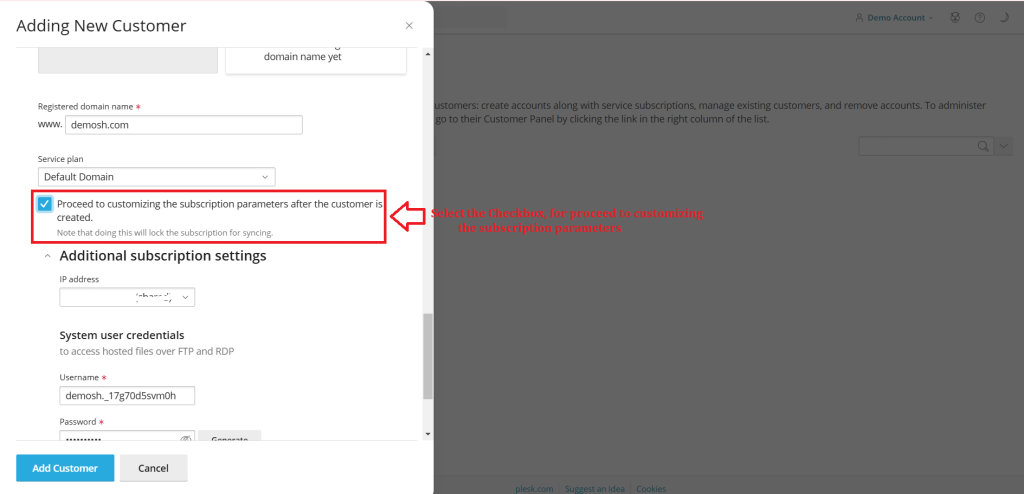
10. In IP address provide the shared IP of the server. (A record IP)
11. Specify the FTP credentials username and password.(Password must be very strong).
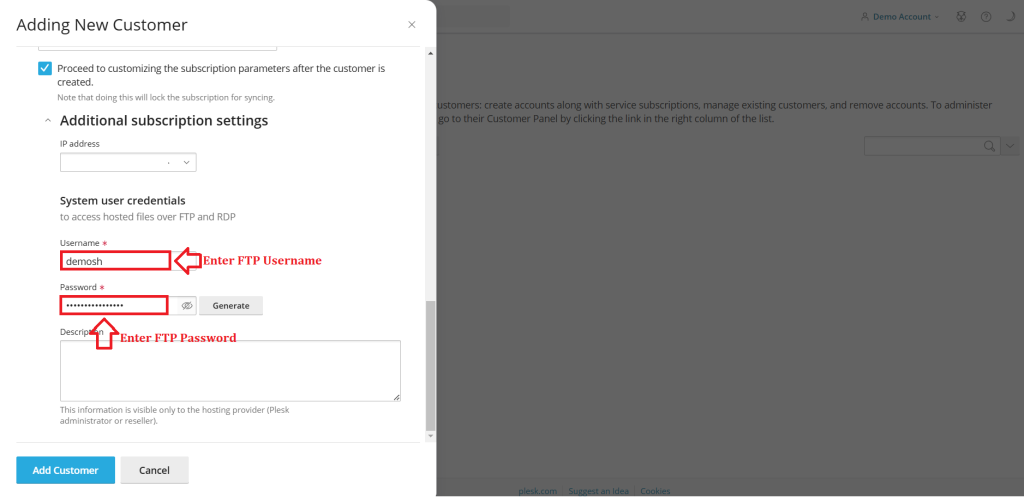
12. Click on “Add Customer” .
Conclusion #
We have successfully learnt to add a Customer in Plesk Control Panel. They are many features comes with Plesk Control Panel to configure your domain name with E-mail, DNS, Databases and FTP. For more details about best Windows Reseller Hosting in India click here.


